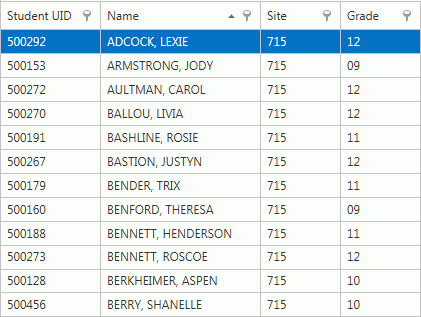
You can sort and group any grid in Student Information. For this example, we will work in the Student Selector Grid.
Note: To view detailed instruction on How to Use the Student Selector, click here.
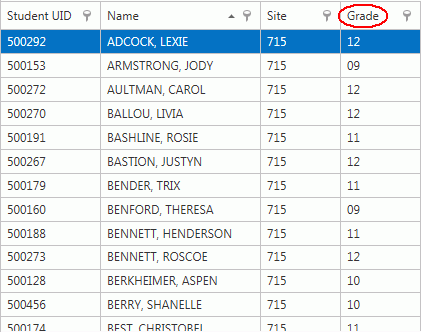
To begin, we will discuss how to sort the grid.
You can sort the grid by any Column Header.
For this example, we will sort the grid by Grade.
Simply left-click in the Grade Column Header.
Now the column is sorted in Ascending Order by Grade.
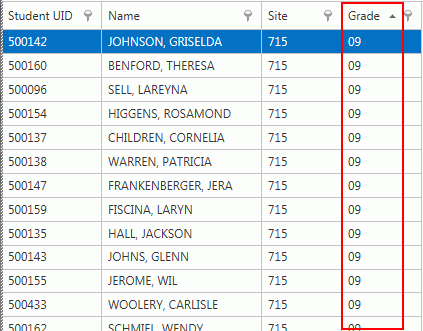
Notice a triangle now appears in the Column Header. The triangle is pointing up to show the grid is sorted in Ascending Order.

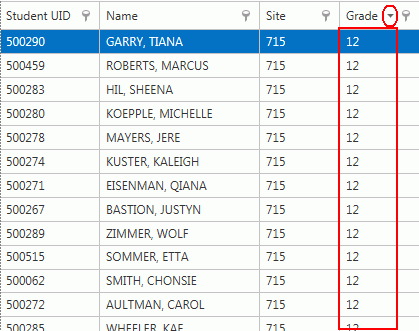
If you click in the Column Header again, the column will be sorted in Descending Order.
To sort multiple columns, simply sort the first column header. Then, press the Shift Key on your keyboard and click in the next column header.
Now let's discuss how to group the grid by column.
Click  .
.
Click  .
.
Now the Group Box displays above the grid.

Simply left-click your mouse, hold down the mouse, and drag the column header you want to group by into the Group Box. For this example, we will group by Grade.
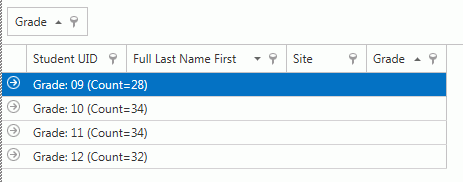
You can see there are 28 students in 9th grade, 34 students in 10th grade, 34 students in 11th grade and 32 students in 12th grade.
(To group by multiple columns, simply drag and drop all column headers you want to group by into the Group Box.)
If you want to view the
details of each Grade, click the Expand Button next to that group. 
To change the grouping, left-click on the Column Header that displays in the Group Box, hold down your mouse and drag the Column Header back between the two columns where you want it to display. Then, you can group by different Column Headers.
To reset the grid layout,
click .
And then click ,
,  .
.